Laptop Docking Station Benefits: Eliminate Neck Strain Now
By Maya Reddy • 3rd Oct
For mobile professionals, understanding what docking station specs prevent physical breakdown is non-negotiable. A properly configured laptop docking station isn't just about extra ports; it's your first line of defense against repetitive strain. When your setup forces downward gaze or awkward reach, you're trading milliseconds of convenience for hours of pain. Comfort isn't luxury; it's your productivity baseline. Let's fix it with measurable precision.
Why Your Current Docking Setup Is Secretly Sabotaging Your Spine
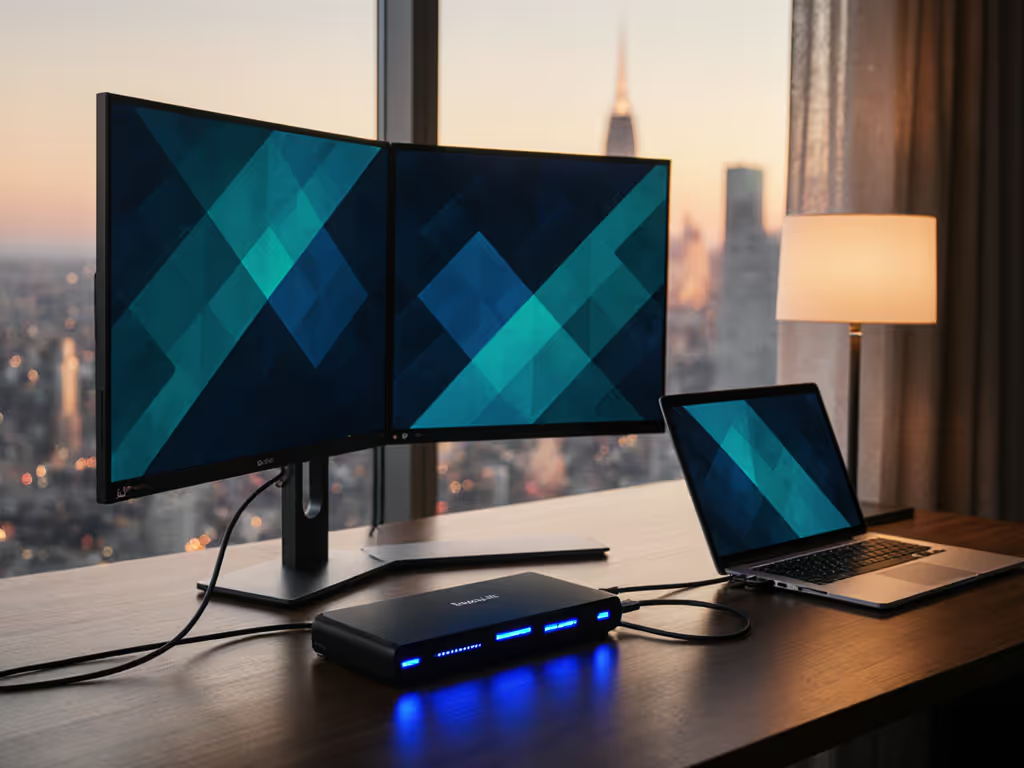
Most travelers accept "good enough" ergonomics until they pay the physical price. I learned this after two weeks of hotel desks locked my neck during a client workshop (no amount of "posture reminders" could offset a 15-degree monitor tilt forcing 20+ lbs of cervical load). Research confirms even 15 degrees of chin-down posture increases spinal compression by 27 lbs. With a docking station that enables proper monitor height, you eliminate this multiplier immediately.
The hidden cost? Every minute lost to repositioning, every adjustment that isn't repeatable. My golden rule: if your setup requires guessing, it's failing. We measure this in setup-time budgets (90 seconds max from bag to productive state). Anything longer invites corner-cutting that manifests as neck cricks by 3 PM.
Step-by-Step: Building an Ergonomic Docking Workflow (Under 90 Seconds)
Step 1: Quantify Your Strain Thresholds Before Buying
Don't choose a dock based on port count alone. First, establish your physical limits:
- Tilt tolerance: Can your neck sustain 0° screen alignment (eyes parallel to desk) for 90+ minutes? If not, you need monitor height adjustment options baked into your workflow.
- dB budget: In quiet cafes or shared workspaces, noise matters. Test potential docks at 12" distance; anything exceeding 28 dBA (like fan-cooled hubs) disrupts concentration.
- Gram ceiling: For carry-on travelers, docks over 1.5 lbs (680g) rarely earn their keep. The Dell WD19 at 20.63 oz (585g) lands near my acceptable threshold for 130W PD and triple display support.
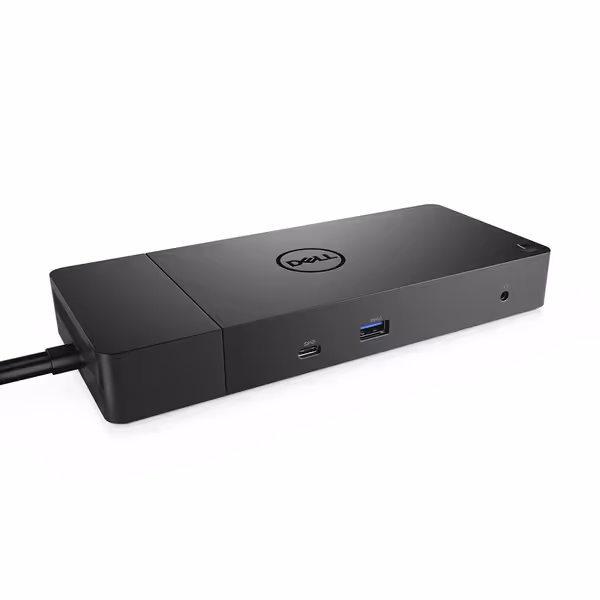
Dell WD19 180W Docking Station
Streamlined Dell docking for multi-display setups and robust connectivity.
$142.7
4
Power Delivery130W via USB-C
Power Delivery130W via USB-C
Pros
Supports dual DisplayPort/HDMI for multi-monitor workspaces.
Gigabit Ethernet ensures reliable wired network access.
Integrated USB-C power delivery reduces charger clutter.
Cons
Durability concerns and mixed power delivery feedback.
Only three USB-A ports; no 3.5mm headset jack.
Customers find the docking station works well with Dell Inspiron 7000 laptops and appreciate its build quality. However, the dock lacks a 3.5mm headset jack, and customers disagree on whether it's worth the price. Moreover, the port capacity receives mixed feedback, with some praising the multiple monitor ports while others note it only has three USB-A ports. Additionally, the power delivery receives mixed reviews, with some saying it provides adequate power while others find it insufficient. The durability is concerning, with customers reporting failures after one week of use or less than two years of use.
Customers find the docking station works well with Dell Inspiron 7000 laptops and appreciate its build quality. However, the dock lacks a 3.5mm headset jack, and customers disagree on whether it's worth the price. Moreover, the port capacity receives mixed feedback, with some praising the multiple monitor ports while others note it only has three USB-A ports. Additionally, the power delivery receives mixed reviews, with some saying it provides adequate power while others find it insufficient. The durability is concerning, with customers reporting failures after one week of use or less than two years of use.
Your spine is part of the kit, neglect it, and your "mobile workstation" becomes a liability.
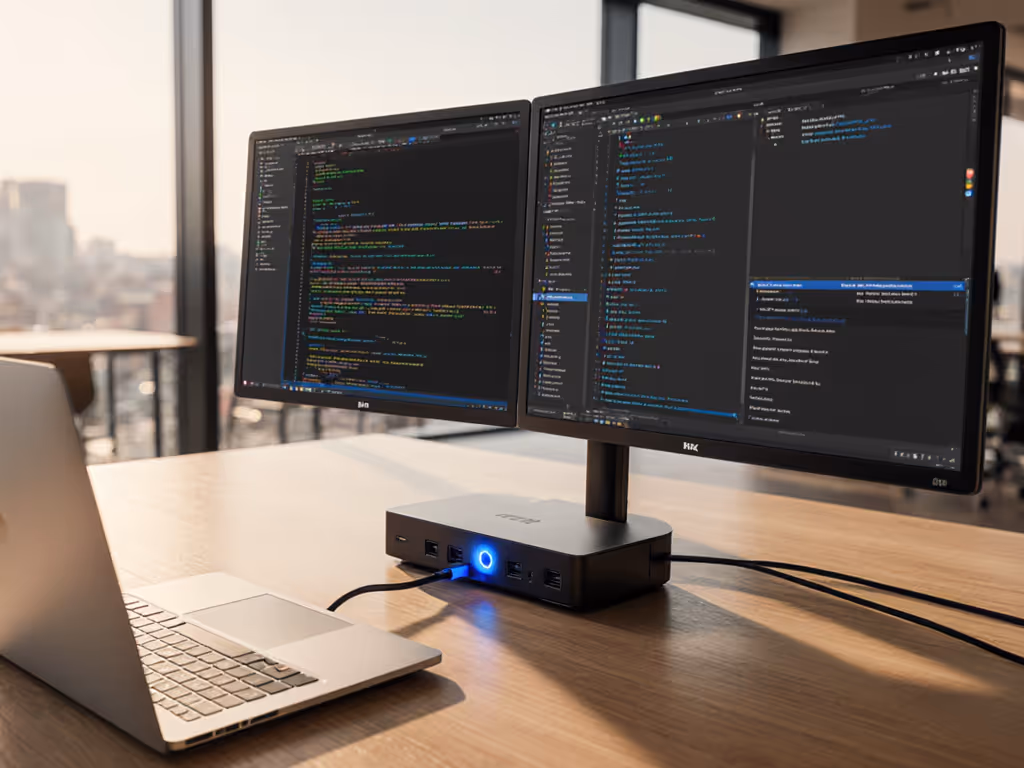
Step 2: Match Dock Capabilities to Your Laptop's Display Limits
Critical reality check: Not all USB-C ports support video. Check your laptop manual for "DisplayPort Alt Mode" certification. Apple Silicon users face additional constraints: M1/M2 base models only drive one external display natively. M3 Pro/Max or Intel Macs handle dual monitors, but verify before buying.
For Windows users: Prioritize docks with native DisplayPort outputs (not HDMI-only). Why? HDMI often caps at 4K30 for multi-monitor setups, while DisplayPort 1.4 supports dual 4K60. A proper multiple monitor setup requires matching your dock's video spec to your laptop's GPU limits. For profession-specific, tested picks, see our pro docking stations guide. When testing the CalDigit TS4, I confirmed its dual 6K output works only because my M3 Max natively supports it (your mileage may vary).
Step 3: Position Monitors at Your Eye Level (No Stacking Required)
Here's the ergonomic math most miss: Your top display edge should align with pupil height when seated. For a traveler, this means:
- Laptop lid closed: Essential for external monitors. Prevents neck tilting downward.
- Monitor height: 22-24" from desk surface (adjustable via docking station placement or laptop stand)
- Distance: 20-30" from eyes (arm's length)
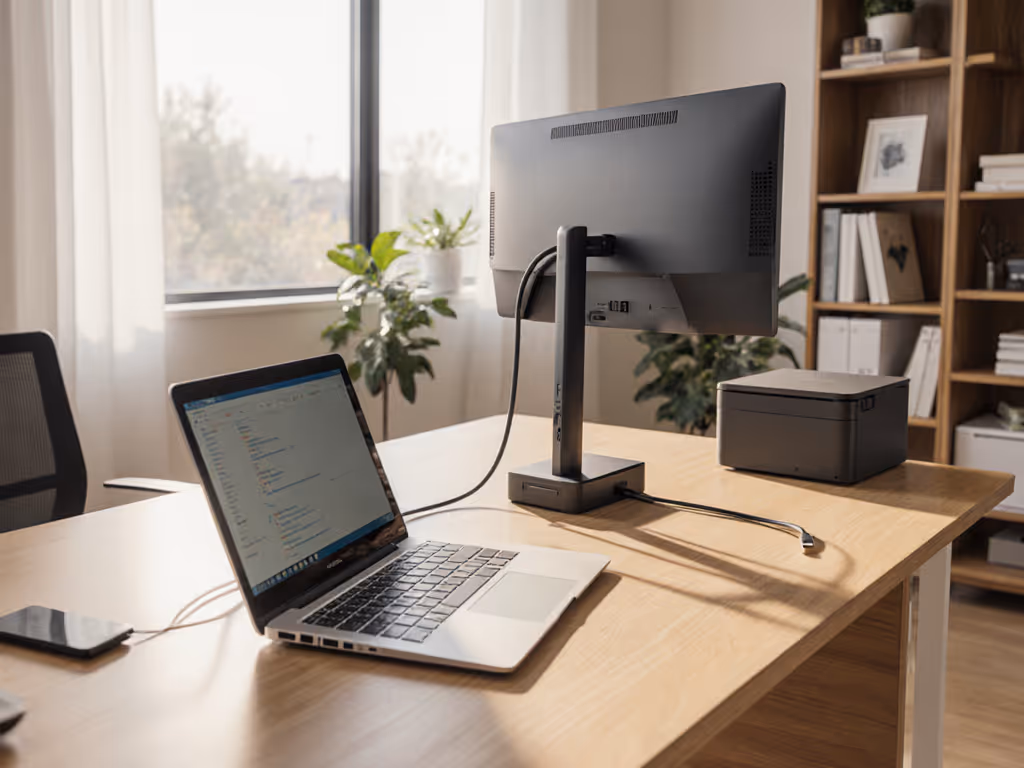
My field-tested hack: Place the dock under your laptop (using a foldable stand). This elevates the screen naturally while hiding cables. Without this, you're adding 6-8" of vertical deficit (forcing constant cervical flexion). At 10 lbs of head weight, that's 60-80 lbs of spinal load. Eliminate it.

Step 4: Implement a Cable Routing System That Takes <15 Seconds
Dongle sprawl isn't just annoying (it's ergonomic sabotage). Every loose cable invites desk repositioning that ruins your hard-won alignment. Do this:
- Label ports with color-coded tape (e.g., blue for monitors, red for power)
- Bundle peripherals into "work mode" (keyboard/mouse) and "present mode" (projector) groups
- Use velcro loops to maintain 6" slack between dock and devices (no tension on connections)
In my setup, I run monitors via DisplayPort (not HDMI) to avoid HDCP handshake delays. Power always connects first (a dock like HP's USB-C G5 with single-cable PD means I never scramble for a separate charger). Total routing time: 12 seconds.
Step 5: Validate With the 90-Second Stress Test
Before trusting a dock on travel:
- Time your full deployment from bag to functional state (monitors on, peripherals connected)
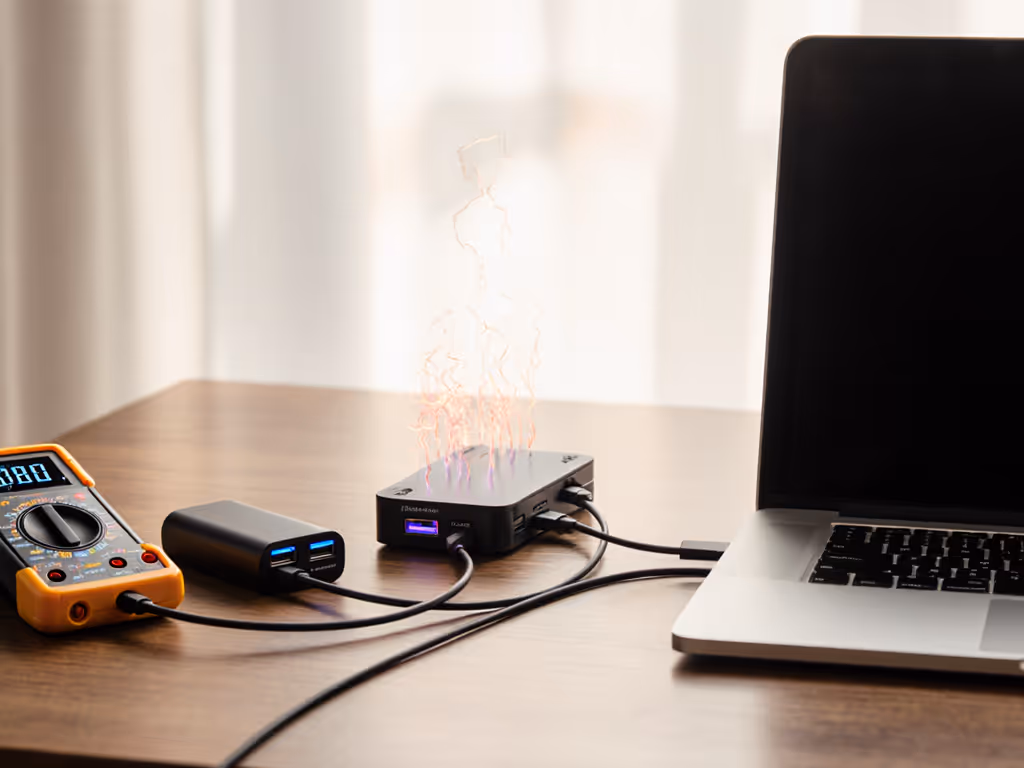
- Check thermal behavior: Rest hand on dock after 30 minutes of dual 4K use. If uncomfortably warm (>40°C), intermittent disconnects loom.
- Measure noise at ear level during video calls. If audible over quiet typing (25 dBA), skip it, since coke-can coil whine breaks focus in shared spaces.
If any step exceeds 90 seconds or introduces noise/heat, discard the option. Comfort that travels: posture first, grams and decibels aligned.
The Real Bottom Line: Your Spine Pays the Price for "Good Enough"
A laptop docking station isn't peripheral; it is central to your physical sustainability. When I prototype travel kits, I anchor to three non-negotiables: sub-28 dBA operation, <90-second deployment, and 0° neck tilt capability. Anything violating these gets cut, no matter the port count.
Your actionable next step: Tonight, measure your current setup's strain cost. Place a phone timer next to your desk. Record:
- Seconds to achieve ergonomic posture (not just "working")
- Decibel level during Zoom calls (use free app like Decibel X)
- Weight of your entire kit (including dock, cables, stand)
If deployment exceeds 90 seconds or noise breaches 28 dBA, your body is subsidizing a flawed system. Tomorrow, revisit dock specs with your biomechanics as the priority, not marketing claims. Because at the end of the day, your spine is part of the kit.
Related Articles


Docks, Hubs & Connectivity
Pro Docking Stations: Verified 100W for Multi-Display Work
Verify true 100W delivery under load, choose the right Thunderbolt/MST/DisplayLink path for dual-4K work, and build a 20% power margin to prevent throttling and handshake failures. Get practical checklists for cables, thermals, and platform limits so multi-display workflows stay stable.
Docks, Hubs & Connectivity
Mac USB-C Hub Test: Power Delivery You Can Trust
Pick a Mac USB‑C hub that stays silent and sustains real power delivery under load, not just big port counts. See which models held steady in lab noise, thermal, and PD tests - and use a 90‑second test to verify your own setup.